Visual Testing using VRT
Ginger has the capability for visual testing. Visual testing is used when we would like to analyze entire application pages and report differences only visible to the human eye. Break down images into their layout and structure and automatically detect similar differences across different pages of your app running on different browsers and devices.
Ginger is integrated with Visual Regression Tracker (VRT) which is open source tool for automated visual UI testing and monitoring, a full manual regression of the UI, covering multiple operating systems, web browsers, screen resolutions, and localizations etc.
Pre-requisites
- Linux Box with VRT Installation on it, steps to install VRT are availlable here
- VRT API details like URL, key, etc. get these details from user profile on VRT dashboard.
- Ginger version (4.4.1 and above)
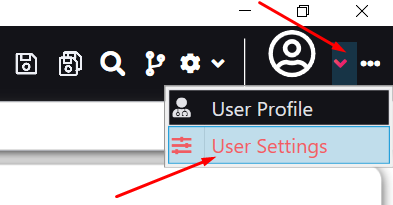
- Ensure 'Show enterprise feature' is selected & saved in Ginger under 'Users Settings option'

Visual Testing Configurations
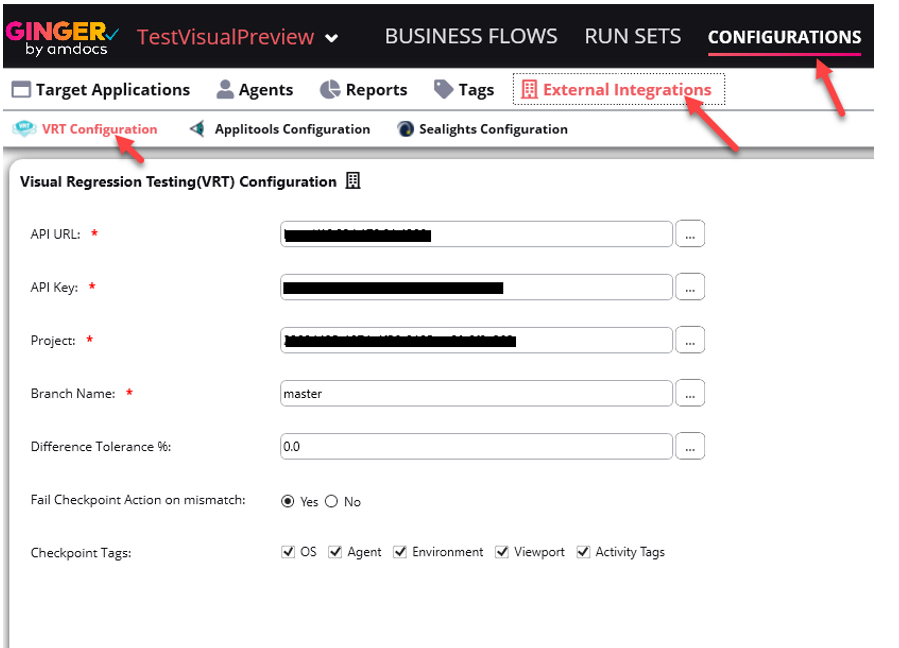
To enable visual testing, we need to set VRT configuration details in the Ginger application as below:
- Click on the ‘Configurations’ tab.
- Click on ‘External Integrations’ tab.
- Click on ‘VRT Configuration’.
Visual testing in Action
Adding Visual testing Action
For automating visual testing, users can add Visual Testing action from Action library.
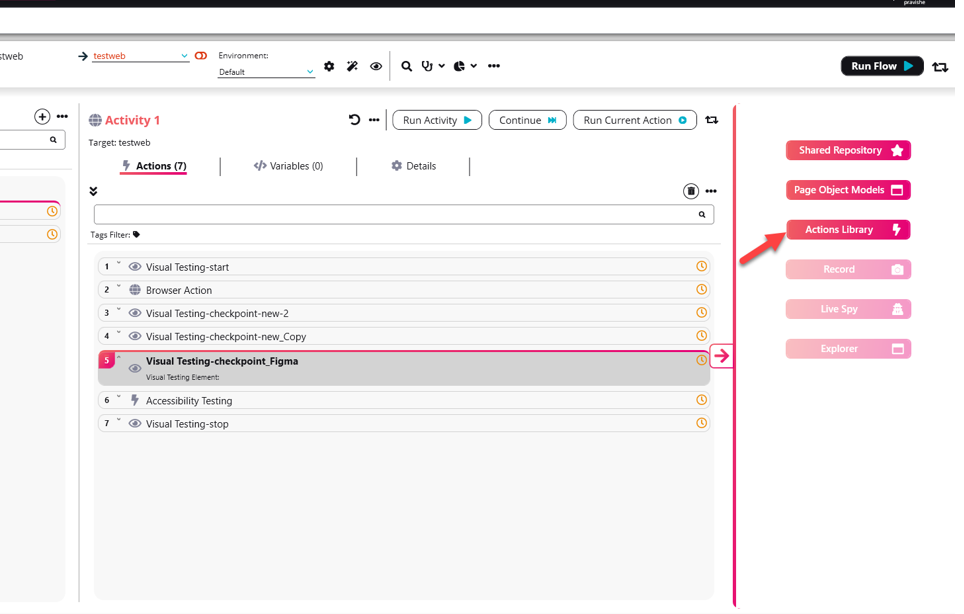
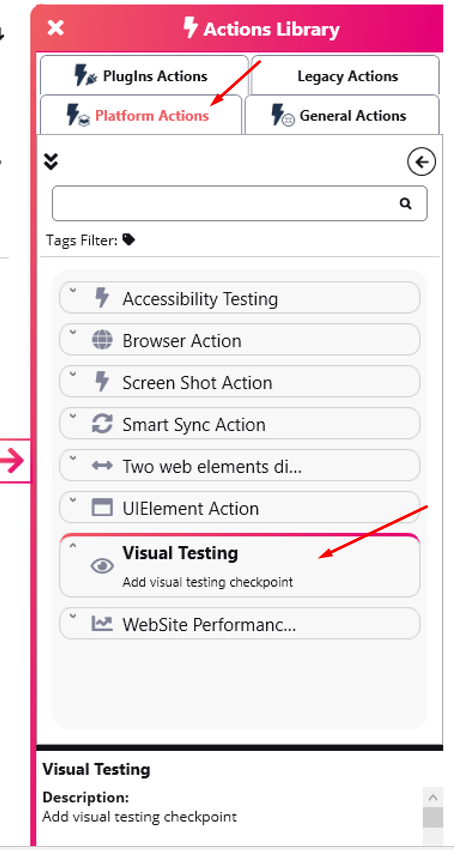
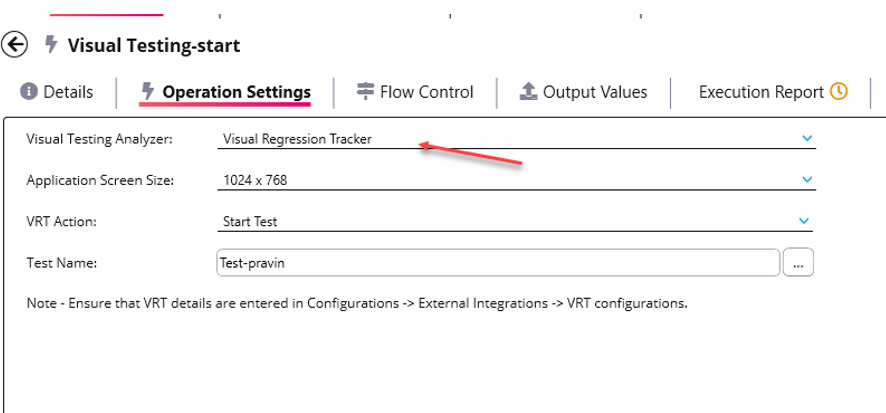
Select Visual Regression Tracker as Visual testing Analyzer
Operations supported by VRT
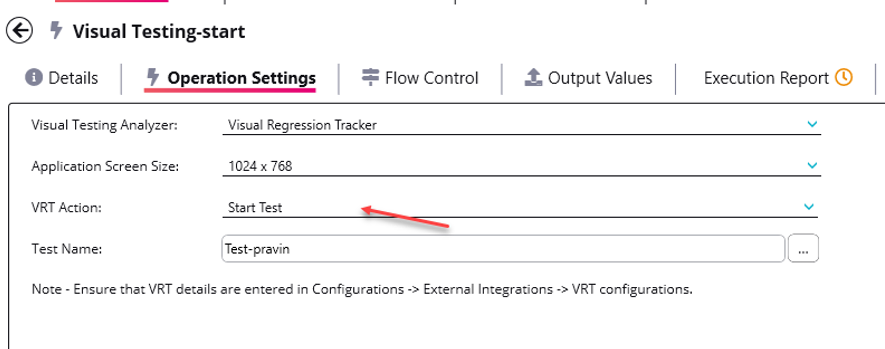
Start Test
This action needs to be added to notify VRT tool the start of the visual testing session.
- VRT Action: Select VRT Action as Start Test
- Difference tolerance % can be set to the % upto which the difference can be ignored when comparing the screenshots. By default the value is set to 0%.
- Test name works as Build name for all actions/activity/flow
Checkpoint
In VRT Action we can select checkpoint with two different types as below
One or more Checkpoint actions can be added to existing Automation flow to compare the baseline with current UI.
When running the checkpoint action for the first time, Ginger will capture screenshot and sent it to VRT as baseline image. User will need to approve the baseline from VRT. This is explained in later section of the document.
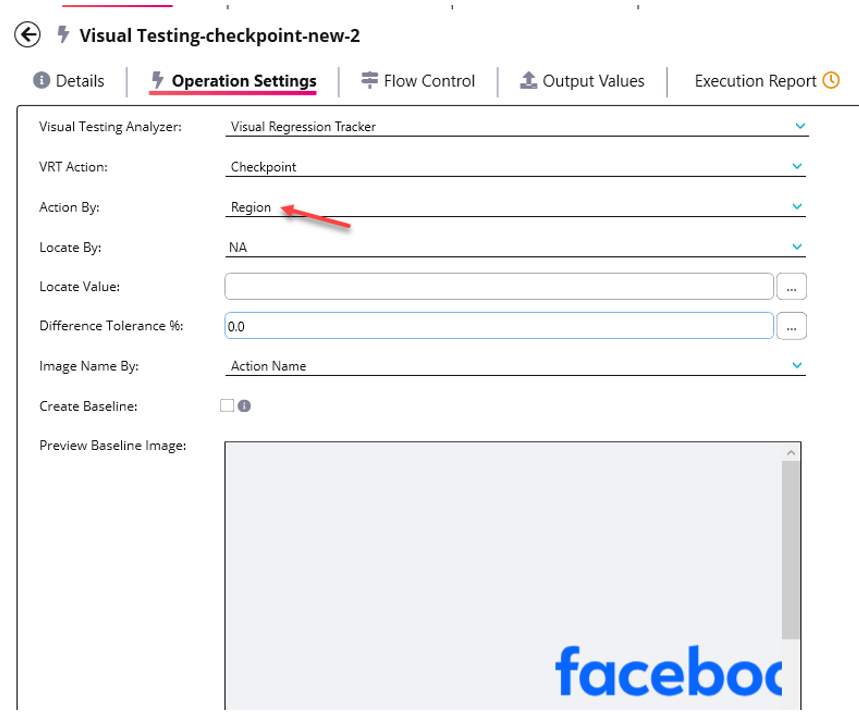
- Action by Window- will compare the entire window or page
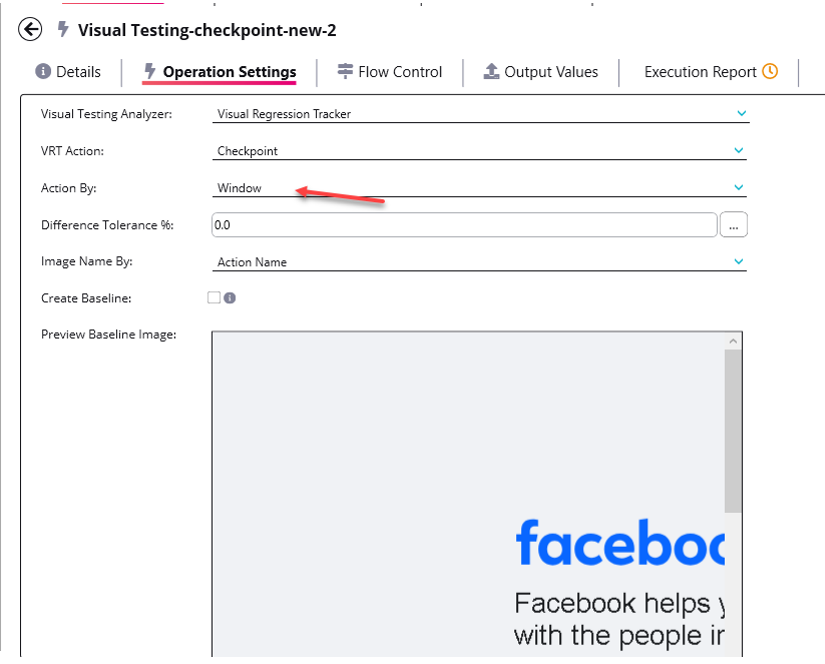
- Action by Region will compare the specific element or frame or region of the page. Locator for the specific element needs to be configured for this option
Create Baseline
A Baseline is a set of images that represent the expected result of a specific test that runs on a specific application.
Below are the option to upload baseline from ginger to VRT.
Select this option to upload Baseline image from active window or from Local machine.
1. Create Baseline from active window
This option selected then it takes screenshot of active window as baseline.
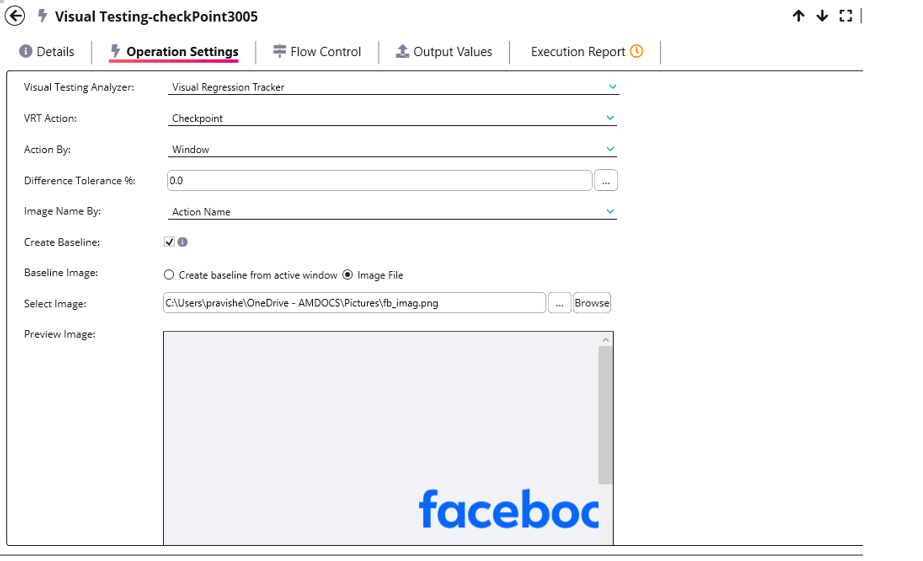
2. Image file
This option provides an option to upload a Local image to VRT as Baseline, also user can preview the uploaded baseline image. Shown in below screenshot.
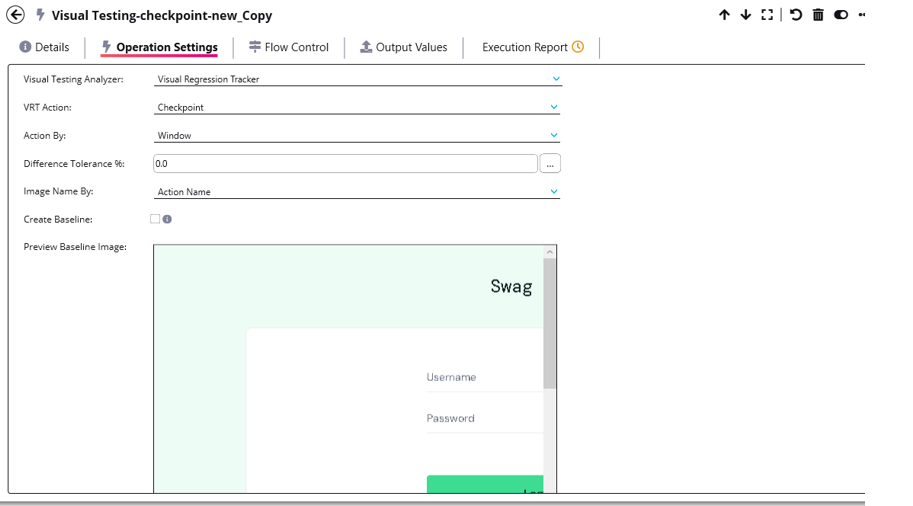
Preview Baseline Image
You can preview the Baseline Image which is already present in VRT.
Stop Test
After all visual testing check points, Stop Test action needs to be configured to notify VRT the end of Visual testing session

VRT Dashboard
Configuring Baseline
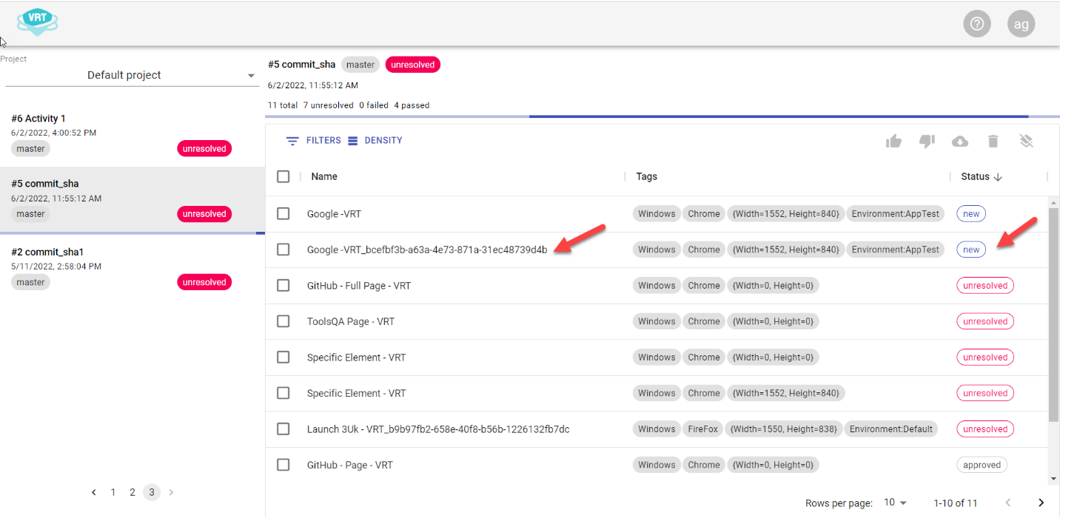
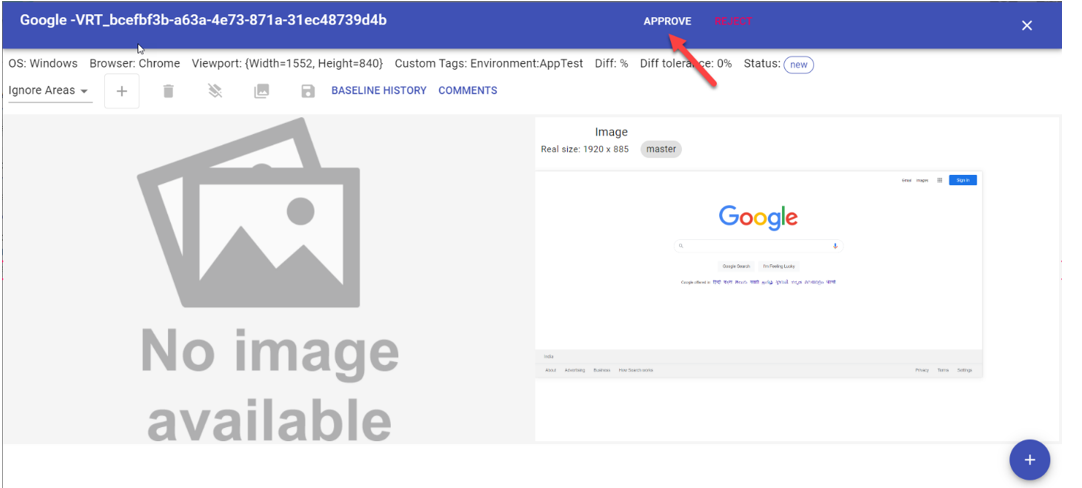
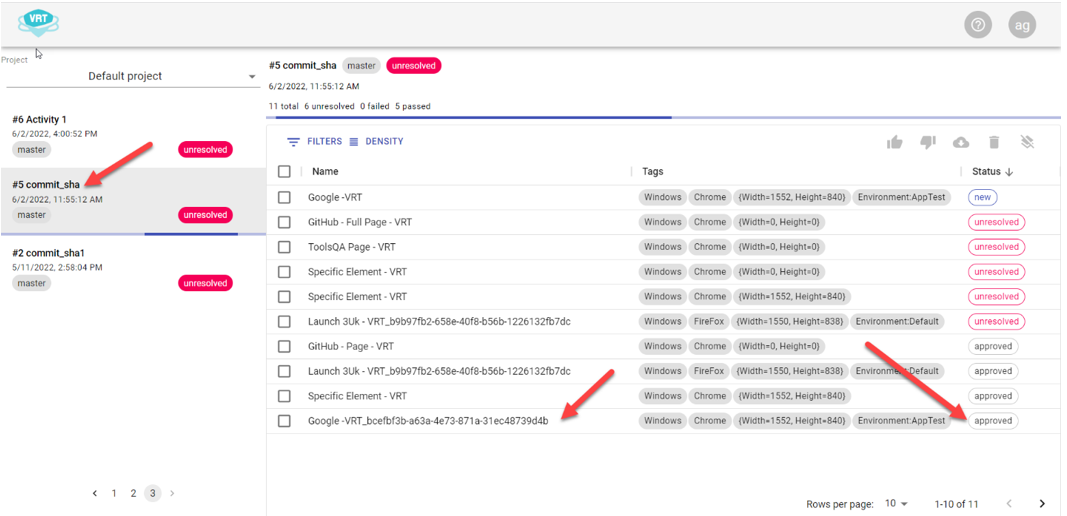
For Accepting or defining the baseline, the user needs to login to VRT dashboard.
If the action fails with error ‘No Baseline’, On VRT Dashboard you can set the base line image.
Refer ‘Create Baseline’ Section under ‘Operation supported VRT’ for explicitly uploading baseline image

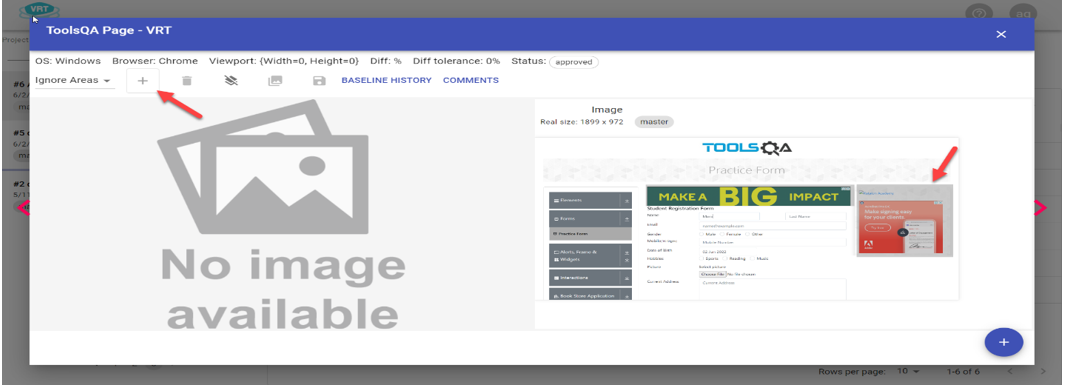
Ignore specific regions
You can ignore some part from the comparison in VRT e.g., Advertisements, Date etc.
Open the specific baseline image from VRT, and click on ignore areas.
Then draw the rectangle to ignore the specific part of the image.
Test name here should be as Build name
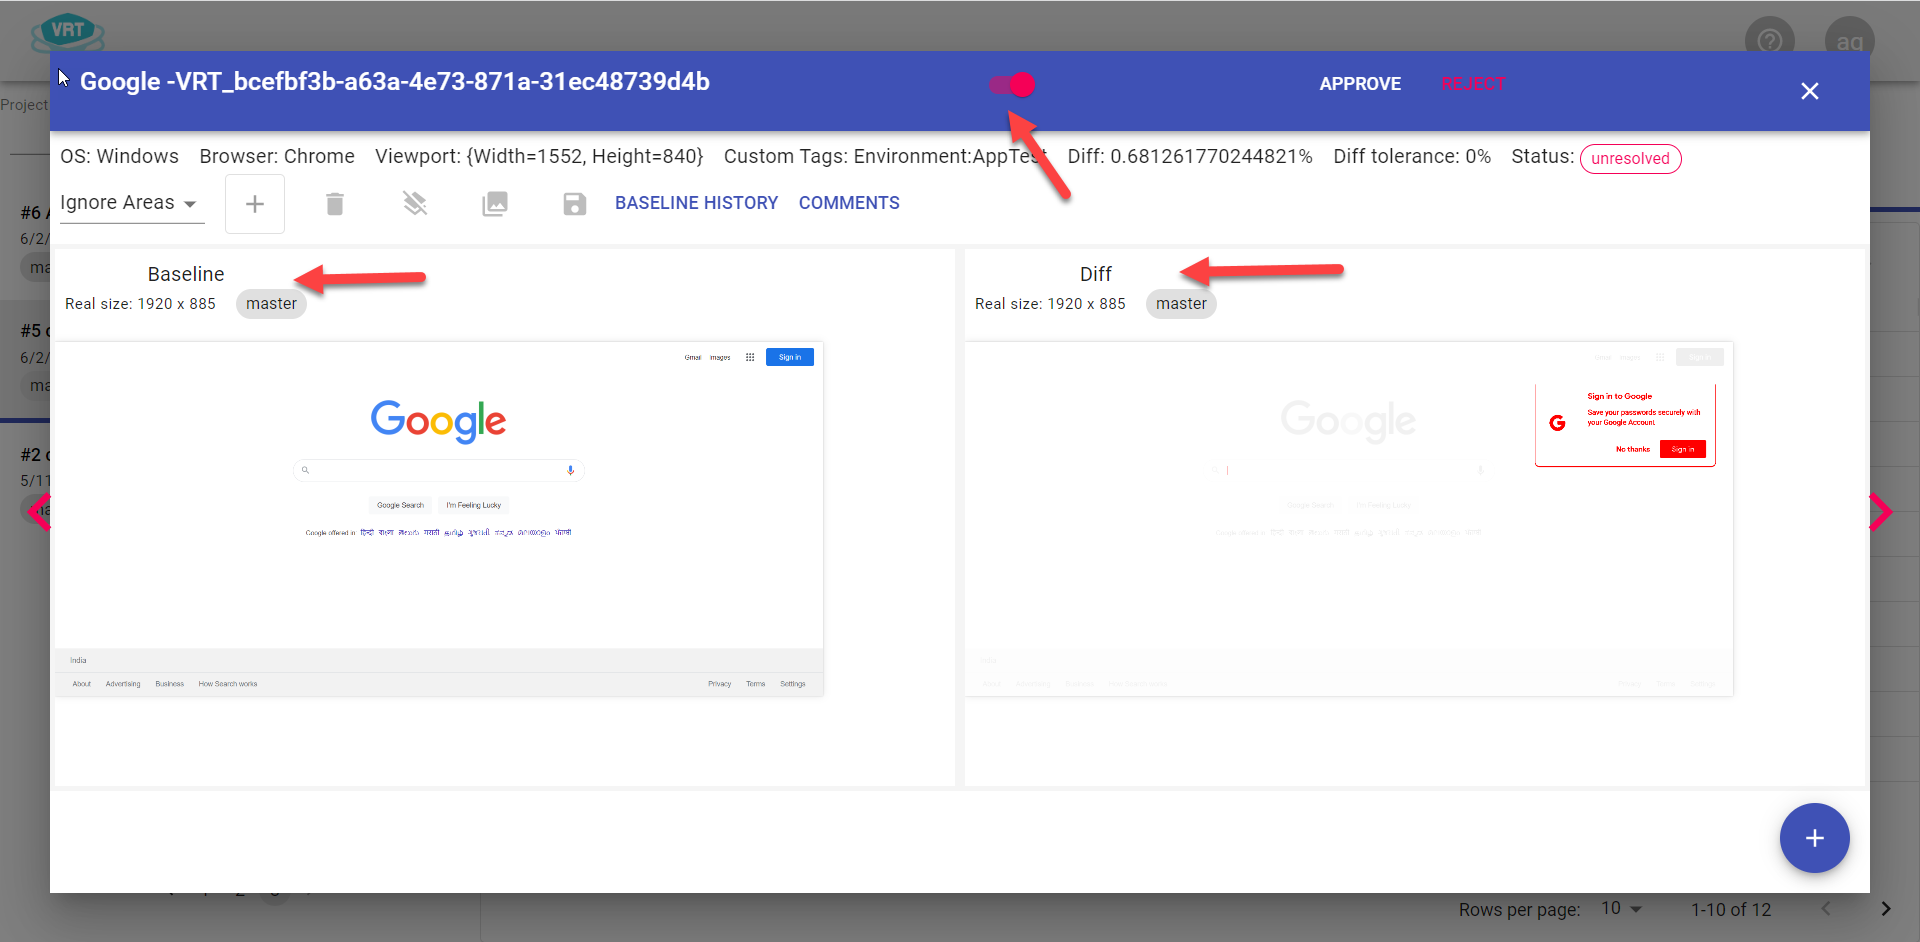
Validating Differences or failures
If any action fails with the errors ‘Difference found’, you can see the difference image in the action result as well as on the VRT Dashboard as shown below

Run in Visual Testing Mode
On Automate tab or on the Runner level configuration we have a flag as “Run In Visual Testing Mode”, which can be is used determine whether to execute the Visual Testing actions or skip.
Default this configuration is set to true, it means when we have Visual Testing Actions in the flow will be executed, otherwise all the visual testing action will be skipped.
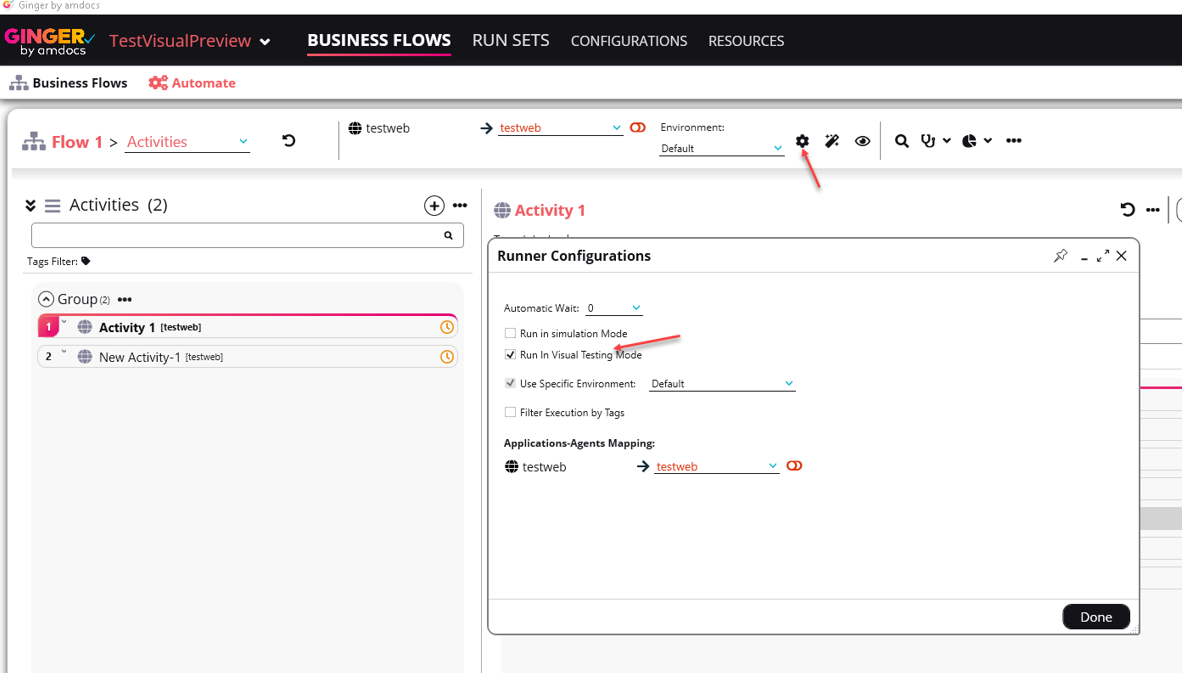
To configure the ‘Run In Visual Testing Mode’ on Automate tab follow below steps.
-
-
-
- Click on settings icon (Runner Configurations)
- Check or uncheck ‘Run In Visual Testing Mode’
-
-
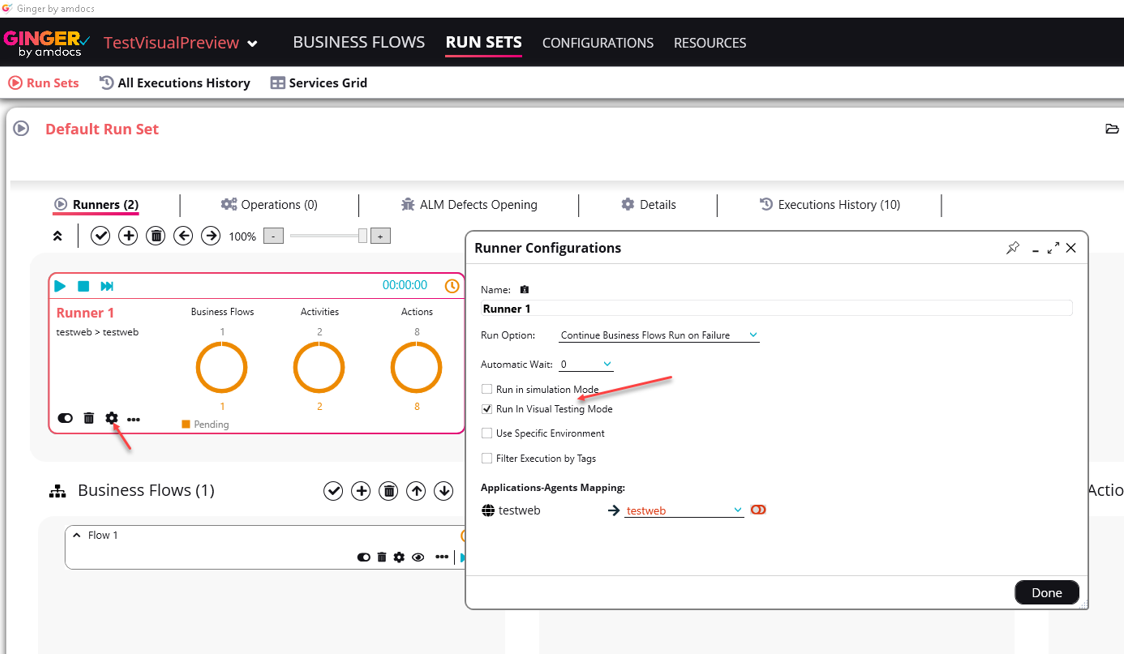
To configure the ’Run In Visual Testing Mode’ on Runset tab follow below steps.
-
-
-
- Click on settings icon of Runner (Runner Configurations)
- Check or uncheck ‘Run In Visual Testing Mode’
-
-
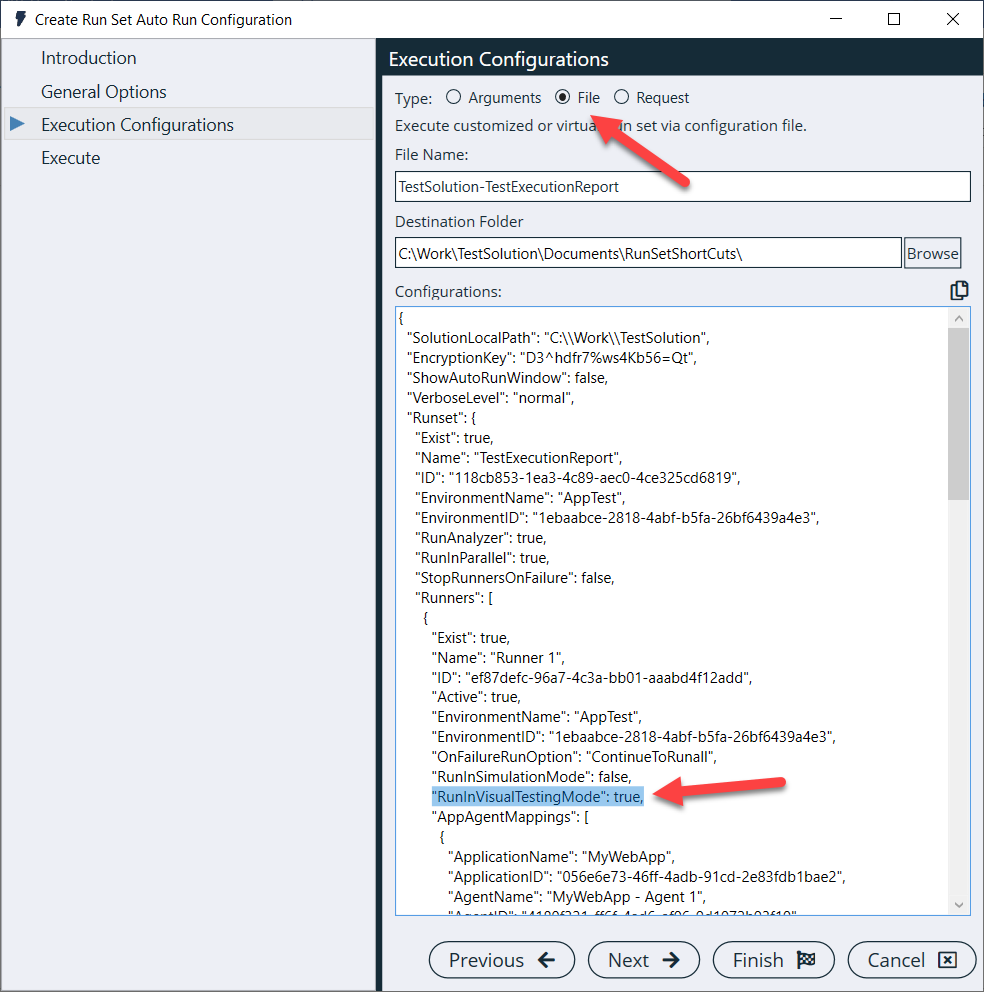
You can also use the same flag, from CLI as well, for dynamic execution configuration. Click Here to know about how to execute runset from cli.
For dynamic execution you can see the field under the Runner Level configuration as shown below.